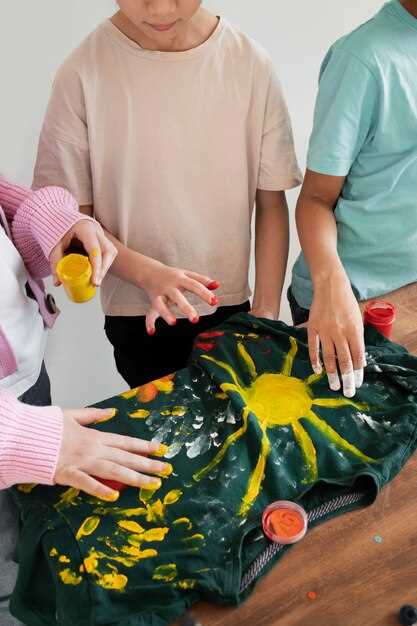
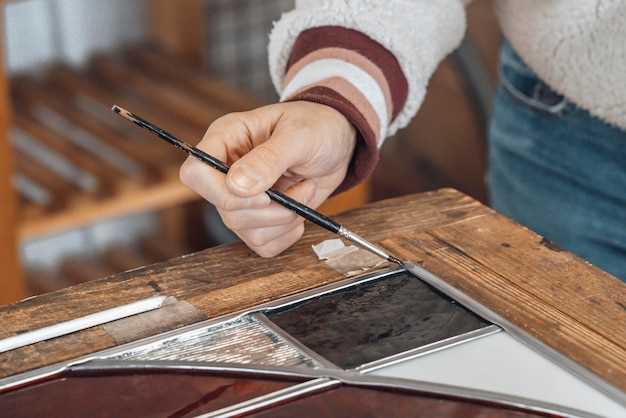
Gather your family for an afternoon of creativity with engaging glass projects that encourage teamwork and laughter. Choose a simple stained glass craft, like creating colorful window hangings, to get started. All you need are glass snippets, a sturdy base, and a safe adhesive. This activity lets everyone contribute their unique designs, promoting collaboration and artistic expression.
Transform plain glass jars into decorative lanterns that brighten up your home. Using glass paints and brushes, each family member can personalize their own jar with fun patterns or messages. Once painted, place tea lights inside to create a cozy atmosphere. This project not only serves as a beautiful home accent but also a conversation starter when guests visit.
Consider making colorful glass mosaics together. Gather broken tiles or leftover glass pieces and arrange them on a surface to create a stunning masterpiece. This hands-on activity encourages problem-solving and creativity while allowing family members to bond over shared ideas and visions. When finished, your mosaic can serve as a lasting memory of your time spent crafting together.
Incorporating these glass projects into your family routine will enrich your time together. These activities build relationships and create lasting memories, blending creativity with fun in a safe and enjoyable environment.
Choosing the Right Glass for Your Craft Projects
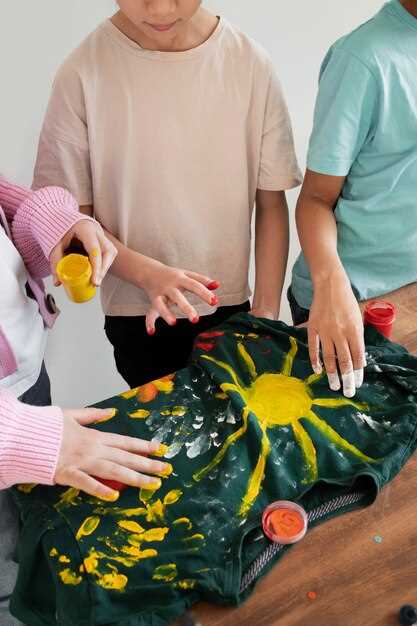
Select the appropriate type of glass based on your project’s requirements. Consider factors like thickness, color, and finish. For beginners, opting for clear glass can simplify the crafting process, allowing for easy visibility of designs.
A common choice is stained glass, which adds color and artistic flair. Use it for window panels or decorative items. Remember, stained glass requires lead came or copper foil for assembly, so prepare for additional steps in your workflow.
You may prefer fusible glass for projects involving glass fusing. This type melts smoothly and adheres well in the kiln, making it perfect for creating plates or jewelry. Confirm the compatibility with your kiln before starting.
For mosaics, utilize glass tiles, which come in various shapes and colors. Their smaller size allows for intricate designs. Glass nuggets and shards also work well for creating texture and depth.
Different projects can benefit from specific glass types. Use the table below to guide your selection:
| Project Type | Recommended Glass Type | Characteristics |
|---|---|---|
| Stained Glass Windows | Stained Glass | Colorful, requires framing |
| Fused Glass Jewelry | Fusible Glass | Melts smoothly, suitable for kiln |
| Mosaic Art | Glass Tiles | Variety of colors, small pieces |
| Decorative Vases | Clear or Frosted Glass | Simple design, versatile |
Always consider safety when handling glass. Wear protective gear and work in a well-lit area. Prepare your workspace with necessary tools like cutters and adhesive for a smoother process.
Engage with your family in the selection and crafting process. The experience of choosing glass together enriches the time spent on crafts and strengthens your bond.
10 Easy Holiday Glass Ornament Ideas for Kids
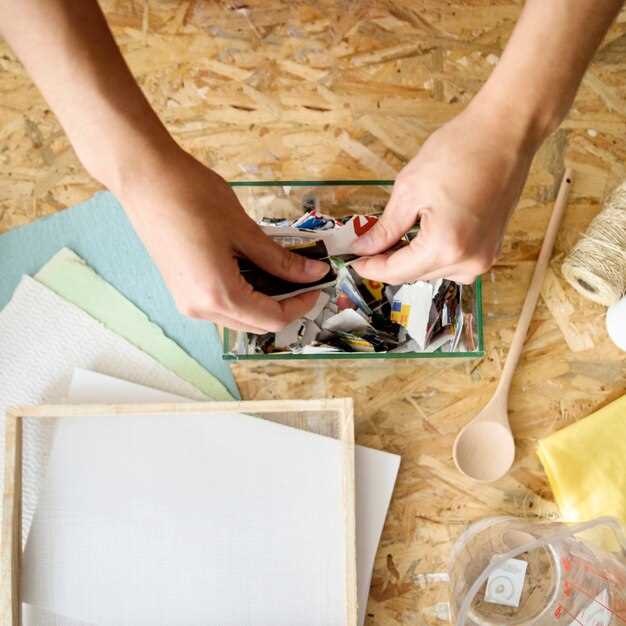
Create colorful glass ornaments using clear glass balls, acrylic paints, and brushes. Let kids paint their designs and let them dry overnight for a personal touch.
Use glass gems and a hot glue gun to craft unique ornaments. Arrange the gems in fun shapes like stars or Christmas trees, allowing kids to create their patterns.
Transform clear glass jars into beautiful snow globes. Fill with glitter, water, and a small festive figure. Seal tight and shake for a magical effect.
Encourage creativity with decoupage. Cut festive images from magazines and apply them to the surface of a glass ornament using mod podge. Seal them for a polished look.
Try making stained glass ornaments using clear contact paper and tissue paper. Cut shapes and stick the tissue on the contact paper, creating colorful designs.
Engage in nature-inspired projects by collecting small pinecones or twigs and placing them inside clear glass balls. Kids can add paint or glitter to complete the look.
Personalize ornaments with family photos. Print small images, cut them to size, and place them inside clear glass balls for a heartwarming keepsake.
Use washi tape to create vibrant patterns on clear glass ornaments. Let kids choose their favorite colors and styles, making beautiful decorations easily.
Make festive symbols like candy canes or snowflakes with thin wire. Shape the wire into fun forms, then wrap glass beads around them for an eye-catching finish.
Host a bead-making session. Use a variety of beads in different shapes and sizes to fill clear glass ornaments. This allows kids to make their designs unique.
Creative Techniques for Decorating Glass Ornaments
To achieve stunning glass ornaments, try using acrylic paint for a smooth, colorful finish. Choose bright shades and a fine brush to create intricate designs. Allow each layer to dry before adding another for depth.
Decoupage Method
Utilize decoupage to personalize your ornaments. Cut out patterns or pictures from wrapping paper or magazines. Apply a thin layer of decoupage glue to the glass, position your cutouts, and seal them with another layer of glue. This technique produces a unique, textured effect.
Glitter and Adhesives
For a sparkling touch, combine glitter with clear glue. Coat the interior of the ornament with the mixture, rolling it around until the glass is evenly coated. Shake off the excess glitter and allow it to dry completely. This adds a dazzling touch without the mess of loose glitter.
Experiment with layering techniques by combining some of these methods. Attempt to use paint for the first layer, followed by decoupage, and finish with glitter for added sparkle. Each approach offers a personal style, making your ornaments truly one-of-a-kind.
Safe Handling Tips for Glass Crafts in Family Settings
Always wear safety goggles during glass projects. This shields your eyes from any flying shards if a break occurs. Ensure each family member understands the importance of this protective gear.
Use gloves when handling glass pieces. This prevents cuts and adds an extra layer of protection. Encourage children to wear gloves specifically designed for crafting, as they provide a better grip and reduce the chances of accidental drops.
Designate a Safe Workspace
Select a clean, clutter-free area for your glass crafts. Use a sturdy table with a smooth surface to work on. Keep all glass items together, away from the edges to avoid accidental spills. Designate a specific spot for tools and materials to minimize distractions.
Teach Glass Disposal Techniques
Instruct family members on safe disposal of broken glass. Place shards in a thick, secure container before discarding them. Label containers clearly to prevent accidents. Take out the trash immediately to avoid potential injuries.
Encourage clean-up after each session. Sweep up small pieces carefully with a broom and dustpan. Never use hands to collect broken glass. Instill habits that prioritize safety while enjoying creative activities together.
Incorporating Nature into Glass Crafts and Ornaments
Use real leaves and flowers to create stunning glass art. Press them between two pieces of clear glass, then use a copper foil technique to surround the edges. This adds a beautiful natural element and allows the colors of the flora to shine through.
Consider using sand or small pebbles in resin projects. Combine these materials with glass pieces to add texture and a natural vibe. The mixture can evoke a beach or garden feel, perfect for outdoor decor.
- Nature-Inspired Mosaics: Collect small stones, shells, or bits of wood. Arrange them into a mosaic pattern on a glass surface. Use adhesive to secure them before applying a clear resin finish to give a polished look.
- Leaf Imprints: Create leaf imprints on glass by applying soft, thin clay over leaves, then pressing the clay into glass before curing. This leaves a detailed texture, reminiscent of nature.
- Glass Terrariums: Design glass terrariums filled with small plants or moss. Ensure the glass has an opening large enough for airflow, and use decorative pebbles at the bottom to enhance the appearance.
- Nature-Themed Stained Glass: Use colored glass that mimics the colors of natural elements–earthy browns, greens, and soft blues. Create designs that reflect landscapes, like mountains, trees, or water bodies.
Enhance glass suncatchers by incorporating dried flowers or twigs within the design. Create a layered effect with transparency allowing sunlight to illuminate these natural elements beautifully.
Incorporate natural color palettes in glass painting. Use shades inspired by beautiful sunsets or forest canopies to create a tranquil atmosphere in your glass crafts.
Engage children in nature scavenger hunts to find materials. This not only enhances creativity but also teaches them about their environment. Use their finds in glass projects, fostering a deeper appreciation for nature.
Push the boundaries of conventional glass crafting by mixing in natural elements, creating pieces that tell a story and connect deeply with the outdoors.
Step-by-Step Guide to Making DIY Christmas Ornaments
Gather materials: clear glass or plastic ornaments, acrylic paint, glitter, ribbons, and any decorative items you prefer. Choose a workspace with easy clean-up options.
1. Prepare Your Ornaments
Remove the tops of your ornaments carefully, placing them aside. This allows easy access when decorating the inside. If using glass ornaments, handle them with care to avoid breakage.
2. Add Color and Sparkle
Pour a small amount of acrylic paint into each ornament. Swirl it around gently to coat the interior. Alternatively, sprinkle glitter inside for extra shine. Avoid overfilling; a little goes a long way. Replace the top once the paint or glue is dry.
For added flair, use paintbrushes or sponges to create patterns on the outside. Experiment with various color combinations and techniques to achieve unique designs.
To personalize, write names or dates on the ornaments using paint pens or permanent markers. This adds a special touch and makes for memorable gifts.
Finish by tying ribbons or string through the ornament tops for hanging. Consider using festive colors to enhance the holiday spirit.
Display or gift your creations proudly. These DIY ornaments will surely become cherished decorations for years to come.
How to Personalize Glass Projects for Unique Gifts
Add a personal touch to your glass projects with simple techniques. Begin by incorporating names or initials using glass etching. This method allows you to create lasting designs that make each piece special. Use etching cream or a sandblaster for precision, ensuring a clean and professional finish.
Use Color and Texture
Add Meaningful Symbols and Themes
Incorporate symbols that hold significance for the recipient. Whether it’s a heart, star, or nature-inspired design, these elements make gifts more memorable. Create themed projects for special occasions, such as anniversaries or birthdays, tailoring your designs to reflect the recipient’s personality and interests.
Exploring Different Adhesives for Glass Crafting
For glass crafting, selecting the right adhesive is crucial for achieving strong, lasting bonds. Clear epoxy resin stands out as a popular choice. It cures to form a durable, waterproof bond and works well with different glass types. Follow the manufacturer’s instructions for mixing and application to ensure the best results.
Silicone Adhesives
Silicone adhesives offer flexibility and resilience, making them suitable for projects requiring some movement or vibration. They are also weatherproof, which makes them ideal for outdoor glass art. Look for an all-purpose silicone adhesive for versatility in your projects.
Glue Specifically for Glass
Glass-specific adhesives, like cyanoacrylate or glass glue, provide a quick bond and are designed to resist yellowing over time. Apply a small amount to one surface and press them together. These glues set quickly, giving you a reliable option for smaller projects or detailed work.
Always ensure surfaces are clean and dry before applying any adhesive. Testing on scrap pieces before starting your main project can help you gauge performance and drying times. Enjoy your crafting time while creating memories together!
Involving Children in Glass Craft Safety Practices
Begin every glass crafting session by discussing safety rules with your child. Explain the importance of wearing safety goggles to protect their eyes from any potential glass shards. Ensure that they understand the purpose of protective gear, such as gloves, to safeguard their hands while handling materials.
Supervised Handling of Materials
Always supervise children when they are near glass. Encourage them to ask for help whenever they feel unsure about handling any sharp or fragile items. Demonstrate safe techniques for picking up and carrying glass pieces. Use a designated workspace, free from distractions, to minimize risks and maintain focus during the project.
Cleaning Up Safely
When a project is complete, involve children in the cleanup process. Teach them how to gather the materials safely, using a broom and dustpan for broken pieces instead of just their hands. Set a routine for checking the area for any overlooked shards after each session. This practice not only reinforces safety but also instills responsibility in maintaining a safe crafting environment.
Planning a Family Craft Day with Glass Projects
Choose a date that works for everyone in the family, ideally during a weekend or holiday. This ensures all members can participate without distractions. Create a schedule, dedicating specific time slots for each project, allowing adequate time for creativity and interaction.
Project Selection
Consider everyone’s interests and skill levels while selecting glass projects. Options may include:
- Glass painting on small canvases or jars.
- Mosaic art using broken glass pieces.
- Creating stained glass window hangings.
- Glass bead jewelry making.
Materials & Safety
Gather all necessary materials before the craft day. Basic supplies could include:
- Glass paints and brushes.
- Adhesives suitable for glass.
- Protective gloves and goggles.
- Glass cutter and safety tools for older children.
Safety is paramount. Ensure everyone understands how to handle materials carefully. Set up a dedicated area for cutting glass, if applicable, where only adults perform this task.
Incorporate breaks into your schedule for snacks and sharing ideas. Encourage creativity by allowing family members to personalize their projects. At the end of the day, display completed works together, fostering a sense of achievement and unity.
Video:
Fun Crafts For Family Bonding
Fun Crafts For Family Bonding by Tasty Home 48,920 views 7 years ago 3 minutes, 24 seconds
Q&A:
What types of glass projects are suitable for families?
There are several glass projects that families can enjoy together. Common options include making stained glass art, creating glass mosaics, or designing personalized glass ornaments. Families can also try their hand at glass painting, where they decorate glass items with special paints. These projects can be adaptable to different age groups, ensuring that everyone, from children to adults, can participate and contribute creatively.
What materials do we need for a simple glass crafts project?
For a basic glass crafts project, you might need clear glass items like jars or plates, glass paints, brushes, and adhesive for mosaics. Safety gloves are recommended, especially when working with sharp glass pieces. If you’re doing stained glass work, you’ll also need copper foil or lead came, as well as a soldering iron. Basic crafting tools like scissors and a cutting mat can be useful as well, depending on the project type you choose.
How can glass crafting promote family bonding?
Glass crafting can promote family bonding in various ways. Working on a project together encourages teamwork, communication, and shared creativity. Families engage in discussions about design choices and techniques, allowing members to express themselves. The process of creating something beautiful together can lead to a sense of accomplishment, which strengthens family ties. Additionally, the time spent together during these projects helps build lasting memories, making it a meaningful activity for everyone involved.
Are there safety precautions to consider when doing glass crafts with kids?
Yes, safety is crucial when doing glass crafts with children. Always supervise kids closely, especially when they are handling sharp glass pieces or using tools like scissors and soldering irons. It’s advisable to use tempered glass or glass items specifically designed for crafting, as they are less likely to shatter. Ensure that children wear safety goggles and gloves to protect their eyes and hands. Setting clear guidelines about handling materials can help maintain a safe crafting environment for everyone.
